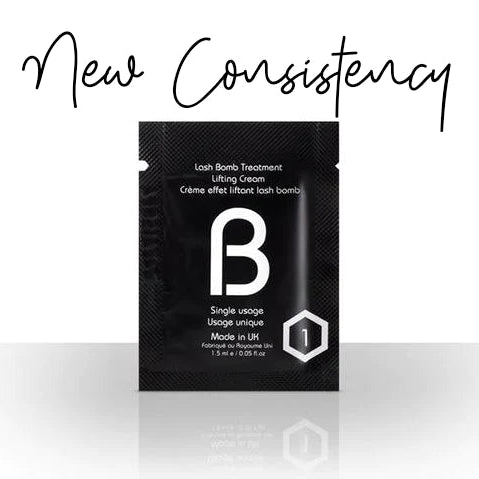
DUO BOMB
DUO BOMB STEP 1
DUO BOMB STEP 1
Couldn't load pickup availability
- Enriched with cocoa butter, Biotin, silk protein and Vitamin B3.
- 10 x 1.5ml sachets (Box)
- Made in the UK
Important Training: The contents of the sachets must always be mixed before use.
BOMB Eyelash Enhancement Procedure
- Complete the client file
- Seat your client comfortably
- Take a photo to clearly highlight the result once the treatment is completed.
- Protect your client's hair using a headband, towel or other professional means.
- Have clean and disinfected hands
- Remove your client's eye makeup with an oil-free product
- Dry your client's eyelashes and separate the eyelashes using a mascara brush. (Put your brosette aside)
- Apply an adhesive patch to the lower eyelashes so that they are isolated during the procedure.
- Determine the desired curve according to the length of the eyelash and choose the appropriate pad. You can cut out parts of it to make your task easier.
- Apply glue to the prosthesis so that the pad is as close as possible to the root of the eyelash. Hold the pad for 20 seconds so that it is firmly stuck to the eyelid.
- Using your splitter tool BOMB , glue the eyelashes in small sections to the prosthesis by applying glue BOMB in thin layers.
- Separate the eyelashes well so that they do not cross.
Step No. 1: Apply the contents of sachet no. 1 to the 1/3 to ½ part of the length of the eyelashes. Once the pause time is over, remove the product using a microbrush, cotton swab or 2x2 gauze.
Break time :
- Fine eyelashes, 4-5 minutes
- Fine to medium lashes 5-6 minutes
- Medium to strong lashes 6-8 minutes maximum.
Step No. 2: Apply the contents of sachet no. 2 to the part that was exposed to agent no. 1. Respect the same break time as in the previous step. . Once the pause time is over, remove the product using a microbrush, cotton swab or 2x2 gauze.
Apply the coloring procedure if necessary.
Final Step: Apply the contents of sachet no. 3 using a microbrush to fully cover your client's eyelash. Remove excess using a cotton swab or 2x2.
Share

DUO BOMB ÉTAPE 1
YourLASH offre une belle variété pour tout ce qui est cils. Ayant placé une commande avant la grève de PC, la propriétaire m'a contacté afin de trouver une solution. J'ai reçu ma commande en un clin d'oeil. Mille mercis pour votre dévouement, suivi et service exceptionnel

